
Spaghetti bias is a great way to jazz up an outfit with very little expense. I’ll be sharing how to use spaghetti bias, how to create a design for a hem application as well as how to make your own spaghetti bias.

The above examples are my Bee-Utiful Pinafore pattern, available in my Etsy shop. It shows creative uses of spaghetti bias around the hem of the pinafore as well as using it as a leaf in the red/white pinafore.

Spaghetti bias was used above this hemline to create vines and leaves.

In the Suzette pattern, the spaghetti bias was used instead of a sleeve.

It can also be used to make bows as shown in the Sweet Cheeks Diaper Cover pattern.
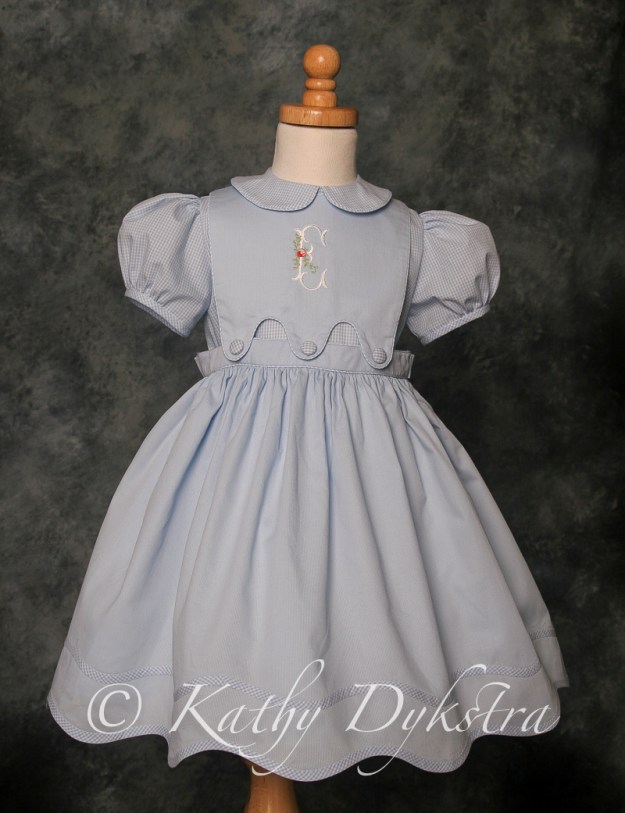
The demonstration on the video uses the Ready To Smock Bishop pattern dress.
To create the design for the hem, you will need to determine what sort of design is desired as well as how many repeats of the design will be done. Find the center front and center back of the skirt and mark with a blue wash-out marker. Then place the CF and CB on top of each other to find the side seams and mark them. You can view my fold and mark process on the YouTube video.
Create a template using paper, pencil and a curved ruler and draw in the type of curve desired. Cut out the curve and then place on top of the skirt and mark each of the scallop designs.
To create bias strips, find the exact bias on the fabric (45º angle from the selvages) and use a rotary cutter, ruler and mat to cut 1-1/8″ strips of bias. Join strips together to get the length needed to go around the skirt.


After strips are joined together, fold the strips with right sides together and sew along the length of the bias with an ACCURATE 1/4″ seam allowance using regular (40 wt.) all purpose sewing thread.
Using the Fasturn tool (see video for visual instructions) turn the spaghetti bias right side out. Let it rest for a bit to allow the bias to relax – it was stretched a bit while turning. Then lightly steam ensuring that the seam side is rolled slightly to one side of the bias. If the bias will be used only in a straight fashion, you can give it a hard press using press bars.
Part 2 for how to apply the bias strips will be coming soon!
Kathy
Disclosure: The recommended products contain affiliate links. If you purchase something through one of those links I may receive a small commission, so thank you for supporting me when you shop! These are my opinions and are not representative of the companies that create these products. These are the products I use and have gotten great results with. I would never recommend poor quality products.