I wanted to share with you some of the items in my stitching spot that have made my stitching so much easier and more enjoyable. Over the years, my eyes have “matured” and I have needed to accommodate that and make some adjustments. I suspect that there are others that may benefit from some of the same stitching “aides”.

My desire is to have a calm, peaceful and comfortable spot for stitching. Of course, it also needs to have excellent lighting as well as sufficient magnification for whatever project I may be working on.
My living room has wonderful lighting when the sun is shining. However, on cloudy days or in the early morning or late evening, the lighting isn’t sufficient for stitching. Needless to say, I don’t plan to slow down on my stitching projects, so, thanks to wonderful technology and sewing aides, I have been able to continue stitching along happily.
The first sewing aide that is used quite regularly is my magnification lamp. It is a floor model with adjustable arms and a swivel head. I purchased this many years ago when I was having difficulty with shadow work embroidery – getting back into the EXACT same hole with the needle. This exact model isn’t still available, but there are newer ones that are new, improved and will work fabulously for any seamstress!

These lamps for for magnification for handwork, but if magnification isn’t needed, but excellent light is required, these fit the bill – they can be adjusted to be overhead. The ability to wheel this lamp from room to room makes it a wonderful choice for anyone! I love the clean white color, but it seems silly of me to buy yet another one just for a different color. 😜
Floor lamp with magnification Of course, there are many models at different price points – just make sure that what you are looking at has enough magnification and lighting for your needs!
The next item that is invaluable to me is actually 2 items – my Ipad Pro and the stand for it! I have linked to both of these, but if you already own an Ipad or tablet, just make sure that the stand will accommodate the size that is needed. It is wonderful to have the adjustable stand and the gooseneck allows it to flex forward any way that is needed for optimal viewing.

The Ipad is wonderful! The ability to zoom in closely in order to see stitches as large as needed!!! I use this all the time for smocking picture smocking designs. I also like the fact that the lighting/brightness can be adjusted – I keep it set higher than average so that there is plenty of contrast.

Of course, no room is complete without music – at least, not as far as I’m concerned. I have 2 fabulous Sonos speakers that provide whatever type of music I’m in the mood for at the time. They connect to Pandora, my own music library, etc. Having a husband that loves technology and loves a good sound system is a real bonus!!! I have a pair of these in my sewing room as well.
Then there are the stitching necessities – the sewing caddy, a pattern that I sell in my Etsy shop, is always with me when I’m stitching. I carry it from room to room and it holds my scissors, pins, needles, rulers, marking tools, etc.

The current project I’m smocking uses beads, which make any project so elegant! I have the most wonderful way to manage the beads while smocking. I have a gift card tin that I have fitted with a tacky mat. The beads stay put until you remove them – even if you drop the tin!!!

This little tin works great for carrying your work around from room to room or even for traveling since the beads stay stuck to the mat. This was one of my best finds in recent years! Of course, smocking with beads requires a milliner needle. I found that the size 8 milliner needles worked best with 3 strands of floss and the size 11 beads.
When smocking with beads, you want to add the bead when you meet up with the final pass on a smocking design. So, in the picture below, the cable row was smocked first, then the 2-step trellis. When the trellis stitch meets the cable row, add a bead there. The bead at the lower point of the trellis will be added on the next row of smocking.

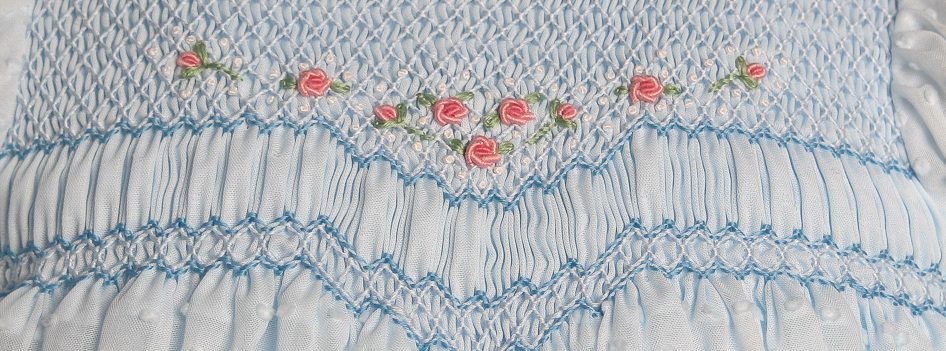
This bonnet matches the Wee Care gown that I finished recently. I will share the smocking design for you to download.

Be sure to pleat half rows for these tiny Wee Care gowns! I used DMC#818 for this gown. The video for this post can be viewed on YouTube.
Happy Stitching!
Kathy
Disclosure: The recommended products contain affiliate links. If you purchase something through one of those links I may receive a small commission, so thank you for supporting me when you shop! These are my opinions and are not representative of the companies that create these products. These are the products I use and have gotten great results with. I would never recommend poor quality products.
