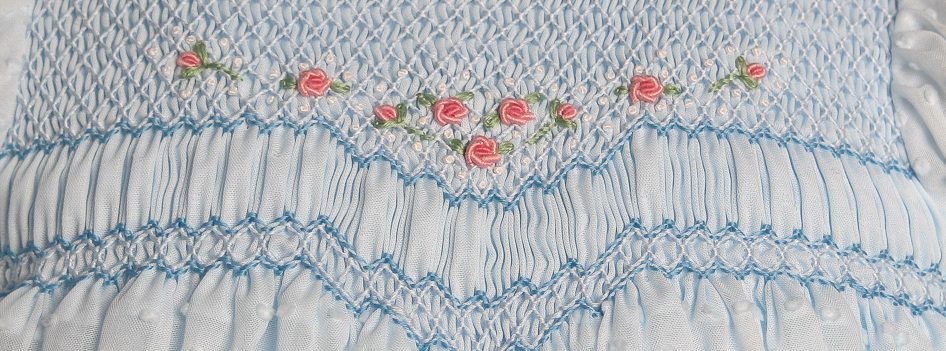
This segment of the sew-along will cover putting on the bias band, tying off for smocking and then designing the scallop hem design.

Before attaching the bias band, finish the backs of the gowns. It is recommended that you turn in a narrow hem that is approximately 1/4″ finished – wide enough to sew a snap onto. Next, count pleats between the front armhole seams to find the center of the gown and mark the center with a blue wash-out marker.
Cut bias band 1-1/8″ wide and about 1-1/2″ longer than needed. Mark the band at each end with the finished neckband size and also mark the middle of the band.
With right side facing up, tie a knot in the top 2 pleating threads. Pull the knot to the fabric. Pin the bias band (right sides together) at each end and at the center.
Sew the bias band to the gown with a basting stitch (see video). The stitching line should be between the top 2 pleating threads. If it needs any adjusting, fix and re-baste. Then sew on top of the basting thread with a 2.0 stitch length. Stitch again a scant 1/4″ away from the first stitching line. Cut away excess fabric at the second stitching line.
Fold the bias band to finish the neckline (see video), trimming the bias band if needed.
To create the scalloped hem, measure across the width of the gown at the hem. Cut a length of freezer paper the same length as the width of the gown hem. The length can then be cut into 6″ wide strips so that you can practice with 3 strips of freezer paper as you design the hem.
Fold the freezer paper in half to find the center, then fold in half again – those folds represent the side seam of the gown. Watch the video to see how simple it is to create pretty scallops.
Link to video:
https://www.youtube.com/watch?v=84bPcgjmemA&feature=youtu.be
Stay tuned for the next lesson, which will be the Madeira hem application. This can be done with a sewing machine that has a pin-stitch or a second method that doesn’t require a pin-stitch will also be shown – that one requires a double hem-stitch needle. Be sure to have your supplies ready for this segment. You will need a blue wash-out marker, water soluble thread, water soluble stabilizer, #110 needle, #80 weight thread, and the kindergarten scissors (optional, but very helpful).
Water soluble thread Vanish Lite
Water soluble stabilizer Sulky Fabri-Solvy
Schmetz double wing needle (if your machine doesn’t have a pin-stitch)
80 weight thread – Aurifil or Madeira Cotona
Sulky Fabri-Solvy or other water soluble stabilizer
Double Hemstitch needle (for technique if you don’t have a pin-stitch on your machine)
Enjoy putting on the bias band and designing your unique hem scallop!!!
Kathy
Disclosure: The recommended products contain affiliate links. If you purchase something through one of those links I may receive a small commission, so thank you for supporting me when you shop! These are my opinions and are not representative of the companies that create these products. These are the products I use and have gotten great results with. I would never recommend poor quality products.
