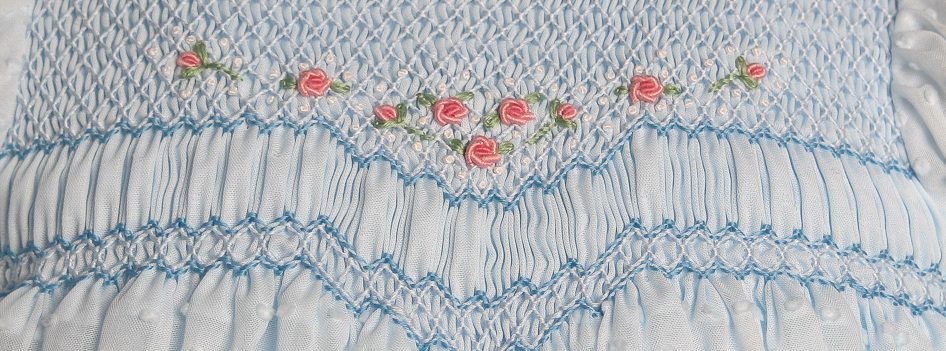
After downloading the pattern, follow the instructions and cut out the gown fabric/rectangle as directed. Fold the rectangle in half, and then in half again in order to cut out the armhole curve.
The armhole curve has TWO placement lines. For the gown that has NO SIDE SEAMS, use the inside line!!! Place this line on the fold and cut around the armhole.
Next cut the sleeve rectangles. If you plan to use the boy’s pleated sleeve pattern, add 1″ to the depth of the rectangle. Using the same armhole curve, cut the sleeve armhole on the OUTSIDE placement line.
Decide on what sleeve treatment will be used. For a smocked sleeve, pleat the sleeves with the desired number of rows (I usually pleat 5 half spaces, 7 for a NB) and be sure to leave the pleating threads long enough to flatten the sleeves out in order to finish the lower edge of the sleeve with a narrow rolled hem or with lace.
Before attaching lace, it is best to starch the lace. For this, use starch, not Ellen’s Best Press. Ellen’s Best Press is a starch alternative, not starch – you won’t get the same crisp results with it as you will with real starch. I use Faultless Heave Spray Starch (link below). It is also available at grocery stores, WalMart, etc.
Attach lace or hem the sleeve bottom. If you need a refresher on how to attach lace, I do have an e-book available on my Etsy site.
https://www.etsy.com/listing/586348280/french-machine-sewing-primer-with-bonnet
For a boy’s pleated sleeve, follow the instructions on the file below (click on the blue PDF) to download the file. This includes instructions for all sizes. Read before cutting out and making the sleeve!!!
Stitch the underarm seam allowance with a TINY 1/4″ SEAM. I have a Youtube video on how to do this:
With the sleeves completed, stitch the sleeve into the armhole. If you have cut & stitched accurately, the sleeve will fit into the armhole perfectly.
Of course, all of the instructions and demonstrations can be seen on my YouTube channel:
This is a longer video, so if you already know how to attach lace, roll & whip, etc., you can fast forward through those parts! 😊 I just wanted to make sure that someone new that wanted to try this would have enough information to apply lace correctly.
You are ready to pleat at this point. Please follow the pleating video if you would like to see how I pleated the gown. Pleat with the number of rows recommended or desired.
Stay tuned for the hem instructions!!!
Links for some of the additional supplies I used – you may already own these:
Keep on stitching!!!! If you have questions, please ask and I’ll answer them here.
Kathy
Disclosure: The recommended products contain affiliate links. If you purchase something through one of those links I may receive a small commission, so thank you for supporting me when you shop – it gives me a little bit back for my time producing these videos! These are my opinions and are not representative of the companies that create these products. These are the products I use and have gotten great results with. I would never recommend poor quality products.
